How to Cut Trees Into Firewood: A Complete Step-by-Step Guide
Cutting trees into firewood is one of the most practical ways to turn raw timber into a usable, efficient heat source. Whether you’re preparing for winter, stocking up your firewood supply, or starting a side hustle selling bundled wood, learning how to cut trees into firewood is a valuable skill. This guide walks you through every step—from tree to tidy, sellable bundles using the IronEmber Ironwood Firewood Bundler.
Step 1: Choose the Right Trees for Firewood
Before you learn how to cut trees into firewood, you need to select the right type of tree. Hardwoods like oak, maple, hickory, and ash are best because they burn longer and produce more heat. Softwoods like pine can be used for kindling but tend to burn faster and generate more creosote.
When choosing trees:
- Look for standing dead or recently fallen hardwoods.
- Avoid diseased or rotten wood.
- Always follow local regulations before cutting.
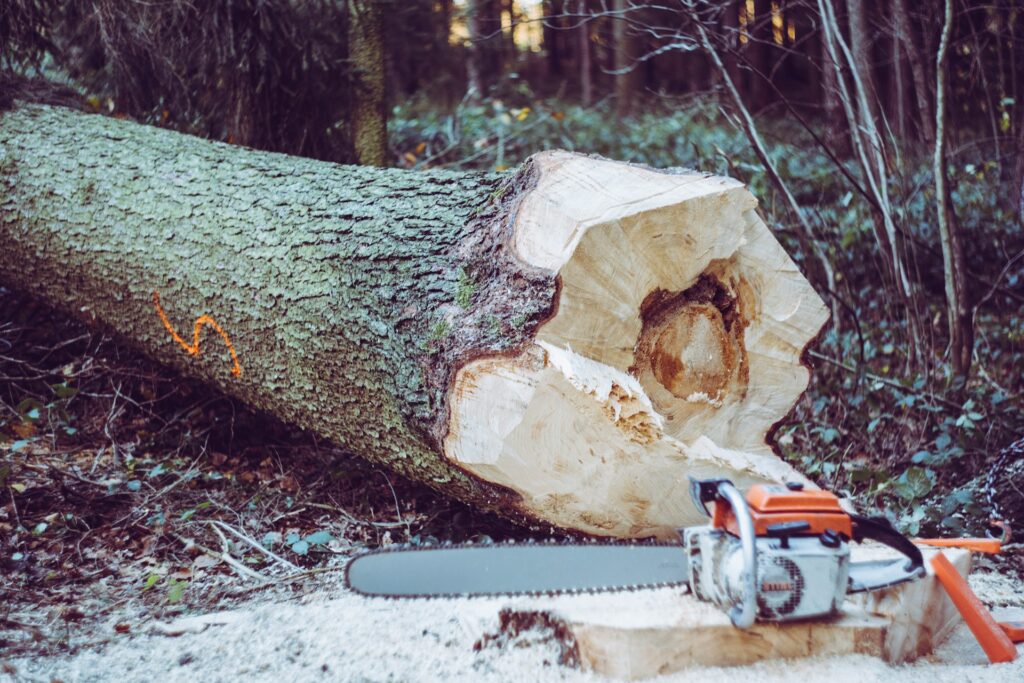
Step 2: Safely Cut Down the Tree
Once you’ve chosen the tree, it’s time to cut it down:
- Wear protective gear: chainsaw chaps, helmet, gloves, goggles, and hearing protection.
- Use a sharp chainsaw and ensure it’s fueled, oiled, and in good condition.
- Plan your escape route and make a proper notch cut followed by a back cut.
If you’re unsure about felling trees, consider hiring a professional or getting trained before attempting it.
Step 3: Limb and Buck the Tree
After the tree is on the ground:
- Limb it by cutting off branches using your chainsaw.
- Buck the trunk into logs—typically 16 to 18 inches in length, ideal for most wood stoves and fire pits.
Pro Tip: Measure one cut and use that length as a guide for the rest to keep your firewood uniform.
Step 4: Split the Firewood
Now that you’ve bucked the logs, it’s time to split them. This helps the wood dry faster and burn more efficiently.
You can split logs using:
- A splitting maul or axe (manual)
- A hydraulic or electric log splitter (for faster, easier processing)
Split each log depending on the size of your wood stove or desired bundle size. Always split wood on a firm, stable surface like a chopping block.
Step 5: Season the Firewood
Fresh-cut wood (known as green wood) must be dried—or seasoned—before burning. Seasoned firewood burns hotter and cleaner.
To season wood:
- Stack it off the ground in a sunny, breezy spot.
- Keep the stack loosely packed for airflow.
- Cover the top to keep rain off, but leave the sides exposed.
- Let it dry for 6–12 months until the moisture content is below 20%.
Seasoned wood will be lighter, cracked at the ends, and sound hollow when knocked together.
Step 6: Bundle the Firewood with the IronEmber Ironwood Firewood Bundler
Once your firewood is cut and seasoned, bundling it makes storage, transport, and selling easier. The IronEmber Ironwood Firewood Bundler is designed to help you wrap consistent, professional-quality bundles quickly and efficiently.
Why Use the Ironwood Bundler?
- Built in the USA with heavy-duty materials
- Adjustable for different bundle sizes
- Compatible with 12″ shrink wrap rolls
- Perfect for roadside sales, firewood businesses, or campground delivery
How to Bundle Firewood:
- Load your split firewood into the wood wrapper.
- Wrap the bundle 4-6 times, ensuring that there is good tension on the shrink wrap.
- Slide out the neat, portable bundle—ready to store, sell, or burn.
Bundled firewood is easier to stack, looks more professional, and appeals to customers who value convenience.
Step 7: Store or Sell Your Firewood
After you’ve learned how to cut trees into firewood and bundle it, proper storage is the key to keeping your firewood dry, clean, and ready to burn or sell.
Use IronEmber IronStacks to Build Your Own Firewood Rack
For a customizable, heavy-duty storage solution, use the IronEmber IronStacks Firewood Rack Brackets. These brackets let you easily build your own firewood rack using standard 2×4 lumber—perfect for homeowners, firewood sellers, and anyone looking to keep their wood elevated and organized.
Why Choose IronStacks?
- Made in the USA from rugged steel
- Holds up in all weather conditions
- Easy to assemble—just slide in your own 4x4s
- Customizable to any length for indoor or outdoor storage
To build your rack:
- Insert 4×4 lumber into the IronStacks brackets to create the base and vertical ends.
- Choose your desired length and height depending on how much firewood you plan to store.
- Place your rack on level ground or concrete to ensure stability.
- Stack your bundled or loose firewood neatly, allowing space between logs for airflow.
This setup allows your firewood to stay off the ground, protected from moisture and pests, and organized in a way that looks professional—whether for home use or customer display.
Selling Firewood?
If you’re selling bundles, having them neatly stacked in racks built with IronStacks is a great way to showcase your product. Clean, uniform bundles stored on attractive racks enhance your roadside stand or retail space and give customers confidence in the quality of your firewood.
Final Thoughts: Mastering How to Cut Trees Into Firewood
Now you know how to cut trees into firewood—from choosing the right trees and cutting them safely to splitting, seasoning, and bundling with the IronEmber Ironwood Firewood Bundler. Whether for personal use or profit, firewood is a timeless, sustainable fuel source that’s rewarding to produce yourself.
Ready to bundle like a pro? Learn more about the Ironwood Firewood Bundler and elevate your firewood game.